
Long ago and far away, in the country of India where the temperature is hot and butter won't keep, an ingenious individual learned to heat this spreadable product derived from the cream of cows and cook it long enough that the clarified fat becomes a shelf-stable, golden oil. This oil was used not only for cooking but also in traditional medicines and for religious purposes. Ghee is reported to have great health benefits for those who consume it, as it contains vitamins A, E, and K2. For the family cow owner or anyone with access to large amounts of fresh butter, making ghee just makes sense. It's a simple project that just requires a bit of time and patience.
To make ghee, put butter in a sturdy pot (one that is not too thin) and begin to melt the butter until it begins to clarify and forces the milk residue to the top of the pot. Let the foam cook and settle while maintaining a low heat and then begin skimming off and discarding the foam. Do not disturb the bottom of the pot where impurities will also settle. You do not want the sediment on the bottom of the pot to burn but do allow it to get brown and allow what is left of the impurities on the top of the ghee to get a little crispy as well so that you can skim it off completely. The remaining liquid after the impurities have been skimmed from the top will be a beautiful golden color and have a delicious, nutty, buttery aroma.
You can pour the finished ghee through a flour sack cloth if you wish, but I don't find it necessary as I am able to remove all the impurities from the top with a ladle. If you pour the ghee into hot jars and immediately apply canning lids and rings, the jars will seal as they cool. Technically, this isn't necessary, but I enjoy the added security of knowing my jars are sealed. I then store my ghee on the shelf of my dark, cool cellar. There really is no expiration date for ghee that has been properly clarified. It will last forever.
 |
| Begin by melting butter in a sturdy pot. Unlike butter that you are planning to keep, butter used for making ghee doesn't have to be thoroughly rinsed. In this photo, you will see some butter balls that I made for keeping long term and then a chunk of butter that had not been thoroughly rinsed that I made just previous to starting the ghee. |
 |
| Impurities rise to the top and settle on the bottom. Skim off the foam until it stops being produced, being careful to not scrape the bottom of the pot. |
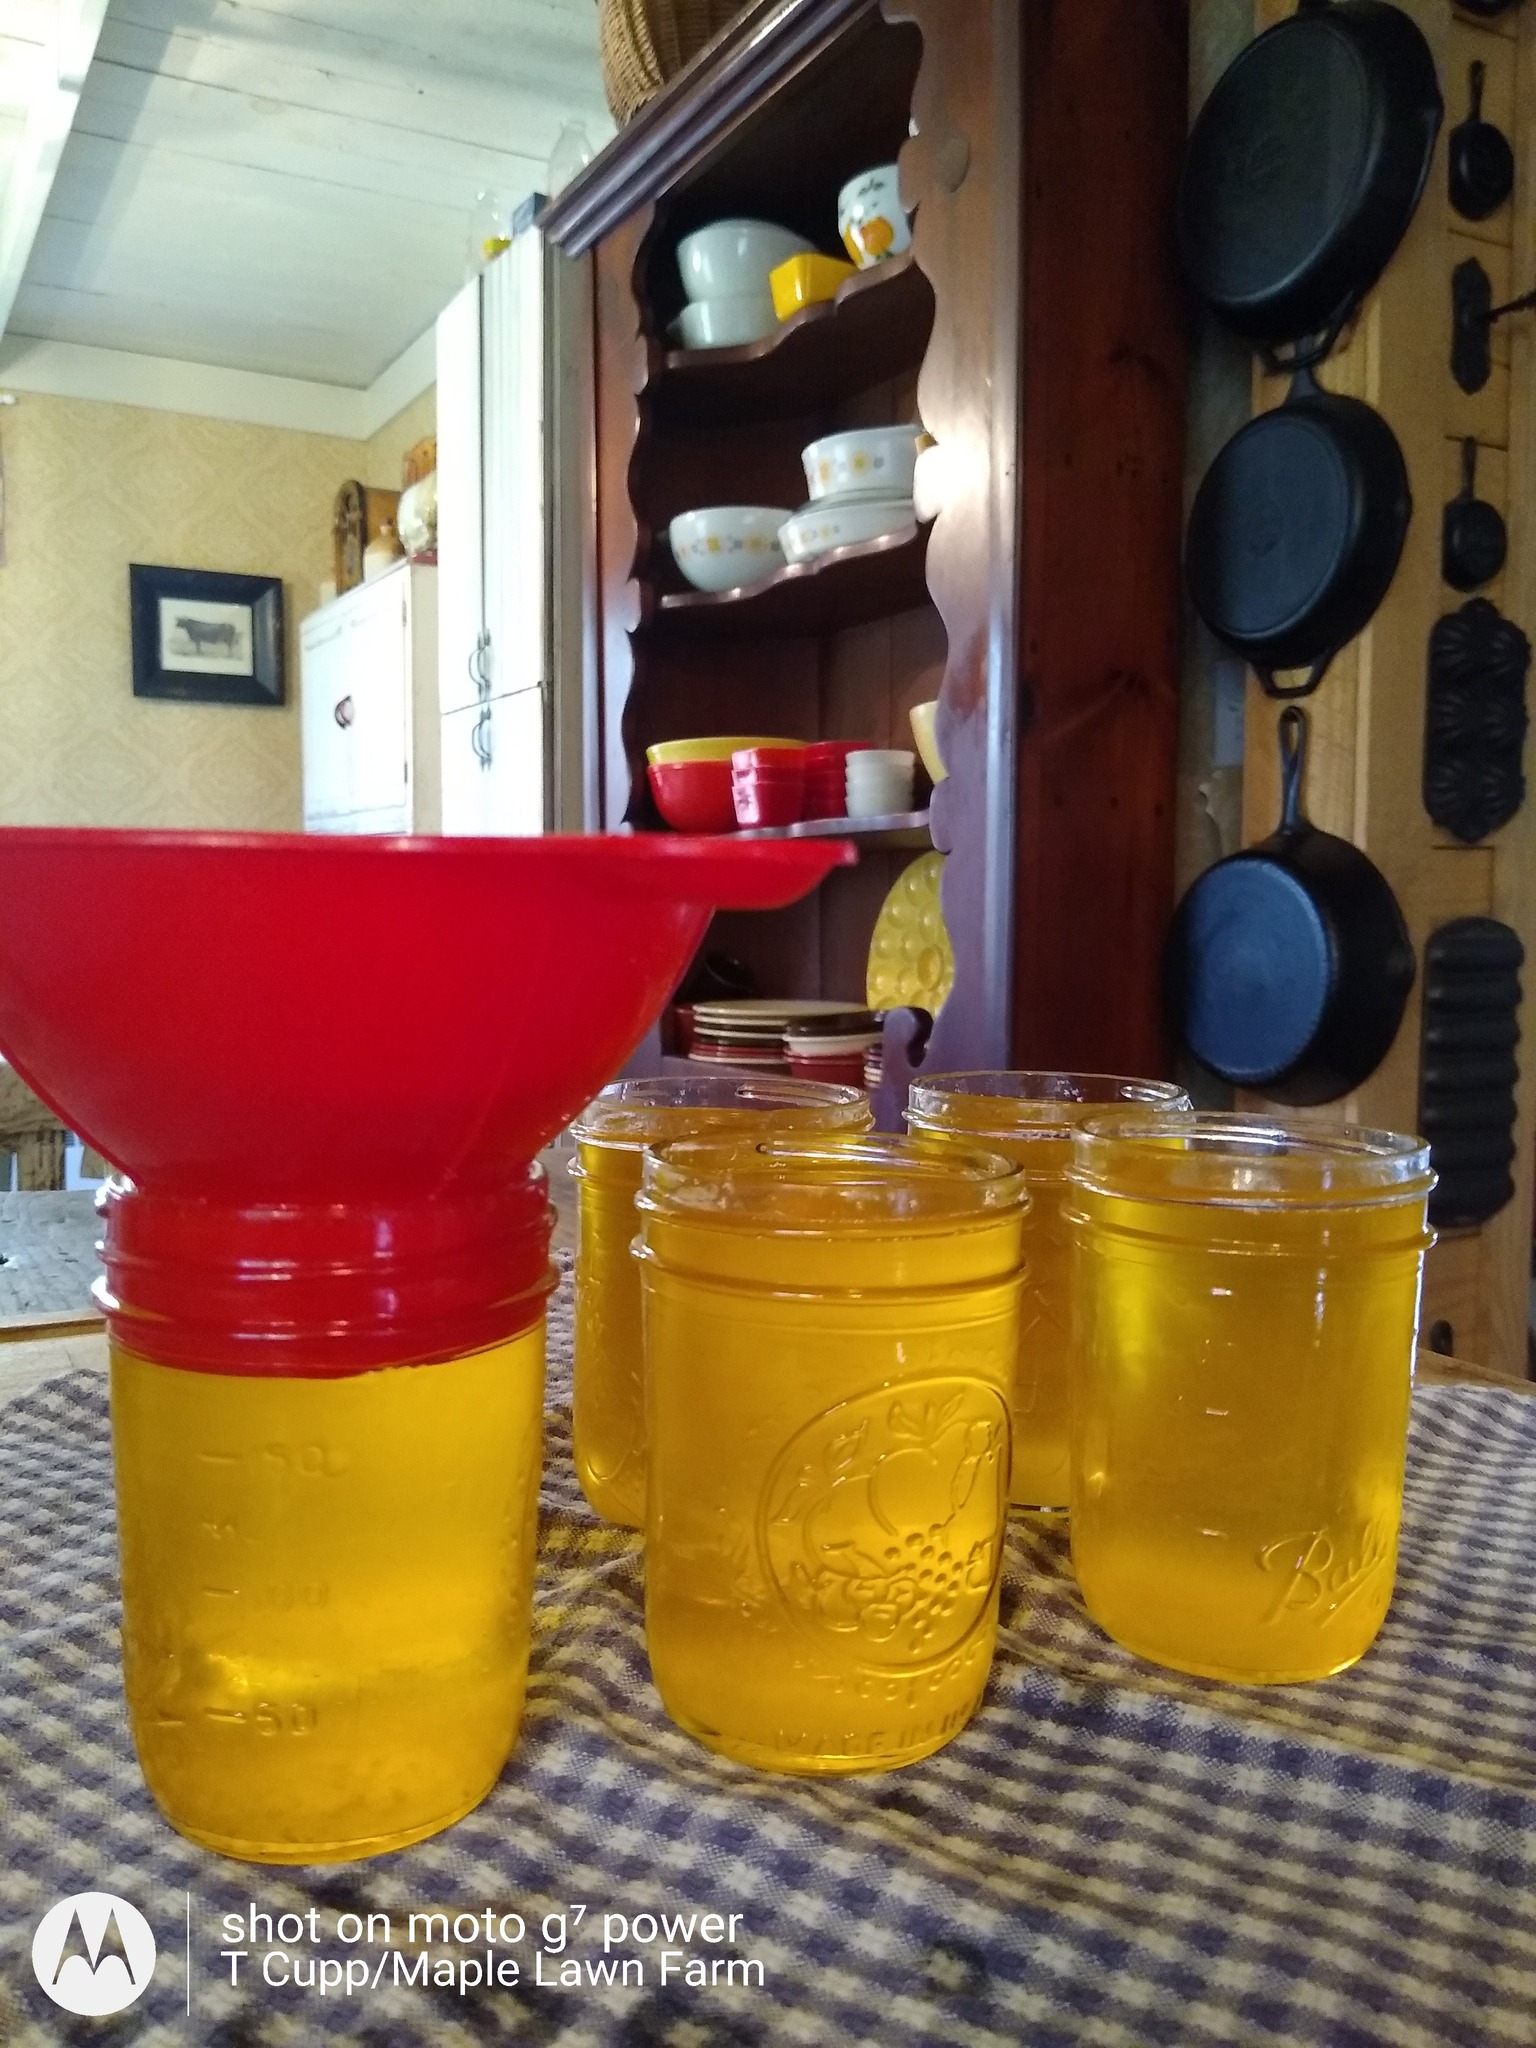 |
| What is left is a golden, pure, beautiful, and beneficial liquid! |
 |
| You can seal the ghee in hot jars if you like, although it's not necessary. I re-use old lids for projects like this. |