Not many of us can resist homemade bread and I will admit that I will choose a slice of homemade bread over a piece of cake any day! I grew up eating a lot of homemade biscuits and cornbread but homemade yeast bread was a treat. As an adult, I wanted to learn to make yeast bread and taught myself using a book that had been gifted to my grandmother, which she then gifted to me. The book, BREADS by Sharon Tyler Herbst, is an excellent resource for the beginner and contains many excellent recipes including the one I share below.


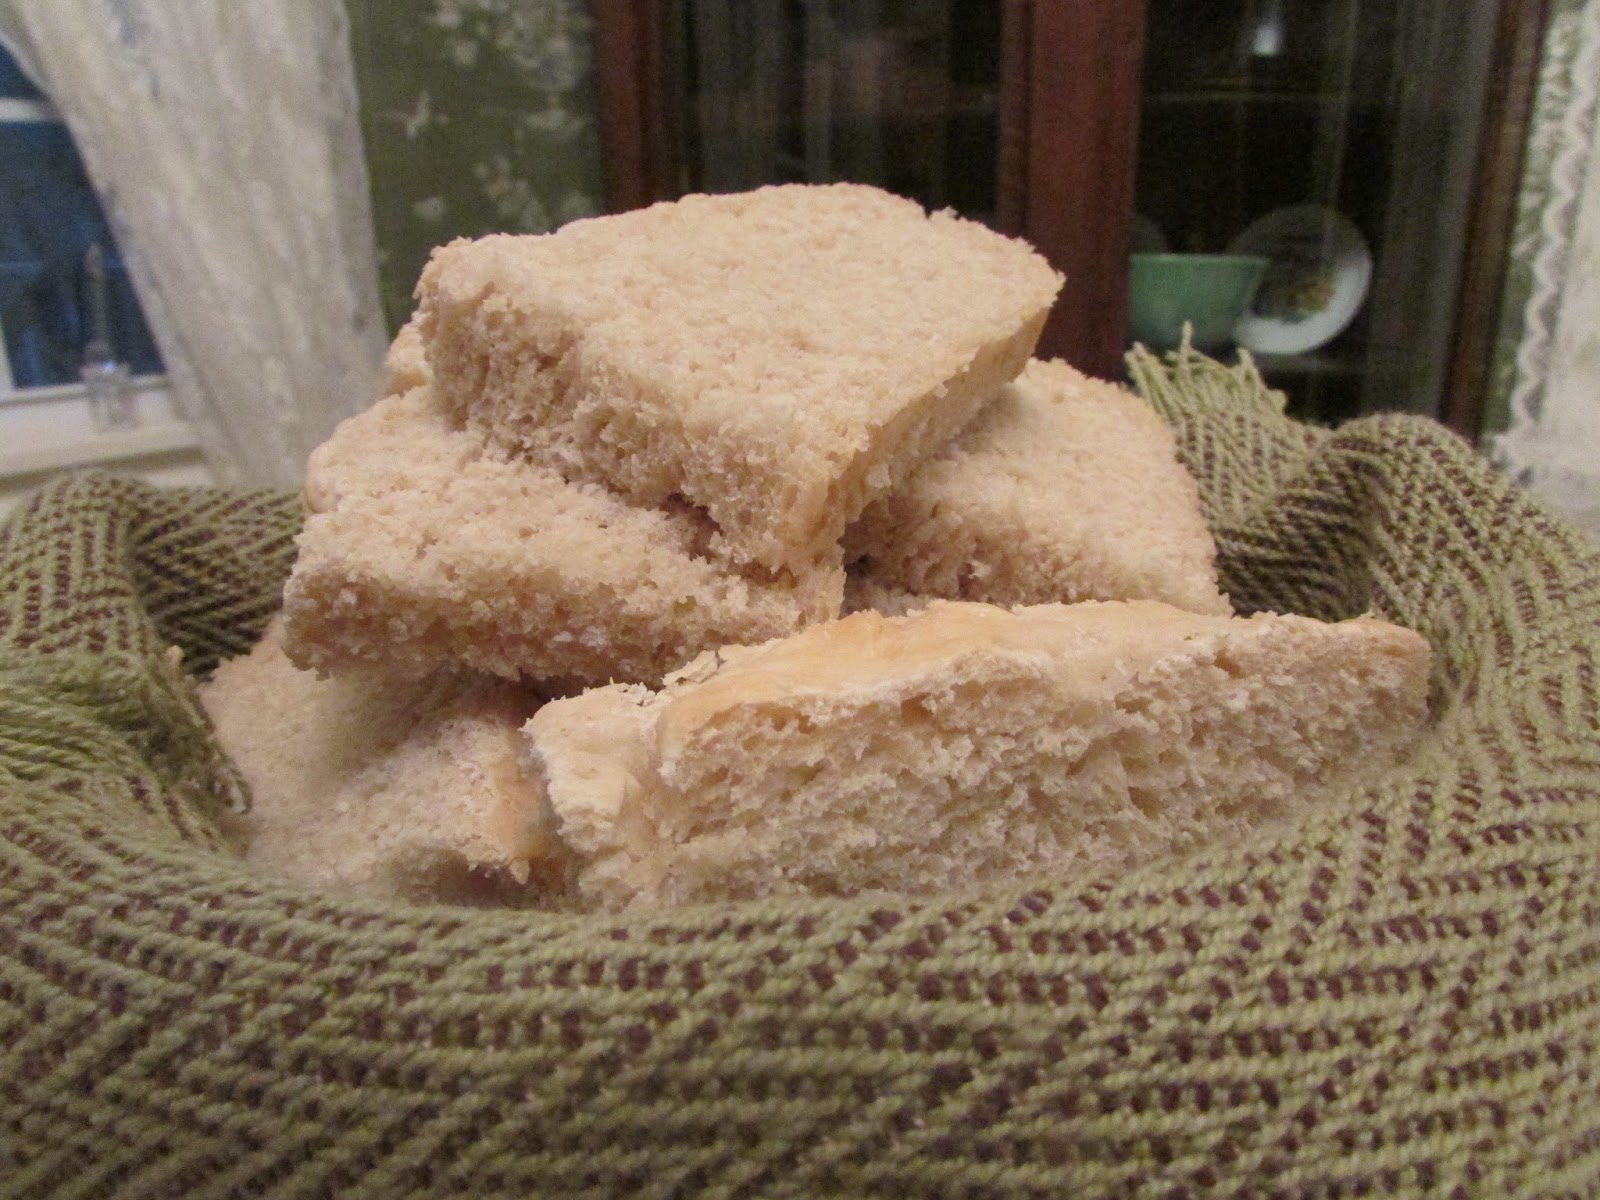
Recently, I have been cooking a lot in my cast iron skillets and dutch oven and this bread recipe adapts well to cast iron cooking. In fact, I think the bread is even better cooked in cast iron. The crust is golden and chewy and the inside soft. Instead of separating the dough and making two loaves, I have found when cooking in my cast iron, making one large loaf works better. I don't really deviate from the original recipe except that I let the bread rise three times instead of two. (Twice is fine but I like the lighter, fluffier texture I get when I let it rise a third time.) I also don't slash the top of the loaf. Slashing the top of the loaf is to keep the bread from splitting while it is cooking but the artisanal look of bread cooked in an iron skillet lends itself to a rugged look and I have not mastered being able to slash the top of this loaf without causing it to deflate some when I do so. Therefore, I simply let it rise one or two times and then bake it. The last time I made this loaf, I simply glazed it with the salt water after it had baked about 20 minutes. This gave me my best results. (Rather than glazing it before baking and then again after 20 minutes as the recipe suggests.) When I make it, I take the entire amount of dough after I have kneaded it for the last time for 30 seconds and put it into a lightly greased iron skillet (or you cold use a dutch oven). I press the dough down so that it fits nicely against the sides of the skillet with no space around the edges, similar to the way one would push bread dough down into a bread pan to get out all the air bubbles. However, if you want a more rugged looking bread, you may want to just make a big ball of dough and place that in the center of your skillet to form more of a free form, artisanal loaf.

Peasant French Bread
1 (1/4 oz) pkg active dry yeast
1 Tablespoon sugar
2 cups warm water (110 F, 45C)
1 Tablespoon salt
5 1/2 to 6 cups all purpose or bread flour
1/4 cup water blended with 1/4 teaspoon of salt for glaze

In large bowl of electric mixer, dissolve yeast and sugar in 2 cups of water. Let stand until foamy, five to ten minutes. Add 1 tablespoon salt and 2 to 2 1/2 cups flour. Beat at medium speed with electric mixer 2 minutes or, beat 200 strokes by hand. Stir in enough remaining flour to make a soft dough. Turn dough onto a lightly floured surface. Clean and grease bowl. Knead dough 10 to 12 minutes or until smooth and elastic. (If kneading in mixer, knead for seven minutes.) Place dough in a greased bowl, turning to coat all sides. Cover with a slightly damp towel. Let rise in a warm place, free from drafts, until doubled in bulk, 1 to 1 1/2 hours. Grease 1 or 2 baking sheets. Punch down dough; knead 30 seconds. Divide dough in half. Shape into round or oval loaves; place on prepared baking sheets. Cover with a dry towel. Let rise until double in bulk, about 45 minutes. Slash tops of loaves as desired. Brush with salt water glaze. Adjust oven racks to 2 lowest positions. Place a shallow roasting pan on lowest shelf. Pour in 2 cups boiling water. Place bread in cold oven. Set oven temperature at 400 F (205C). Bake 20 minutes; brush again with salt water glaze. Bake 10 to 20 minutes longer or until bread sounds hollow when tapped on bottom. Cool on racks. Makes two loaves.